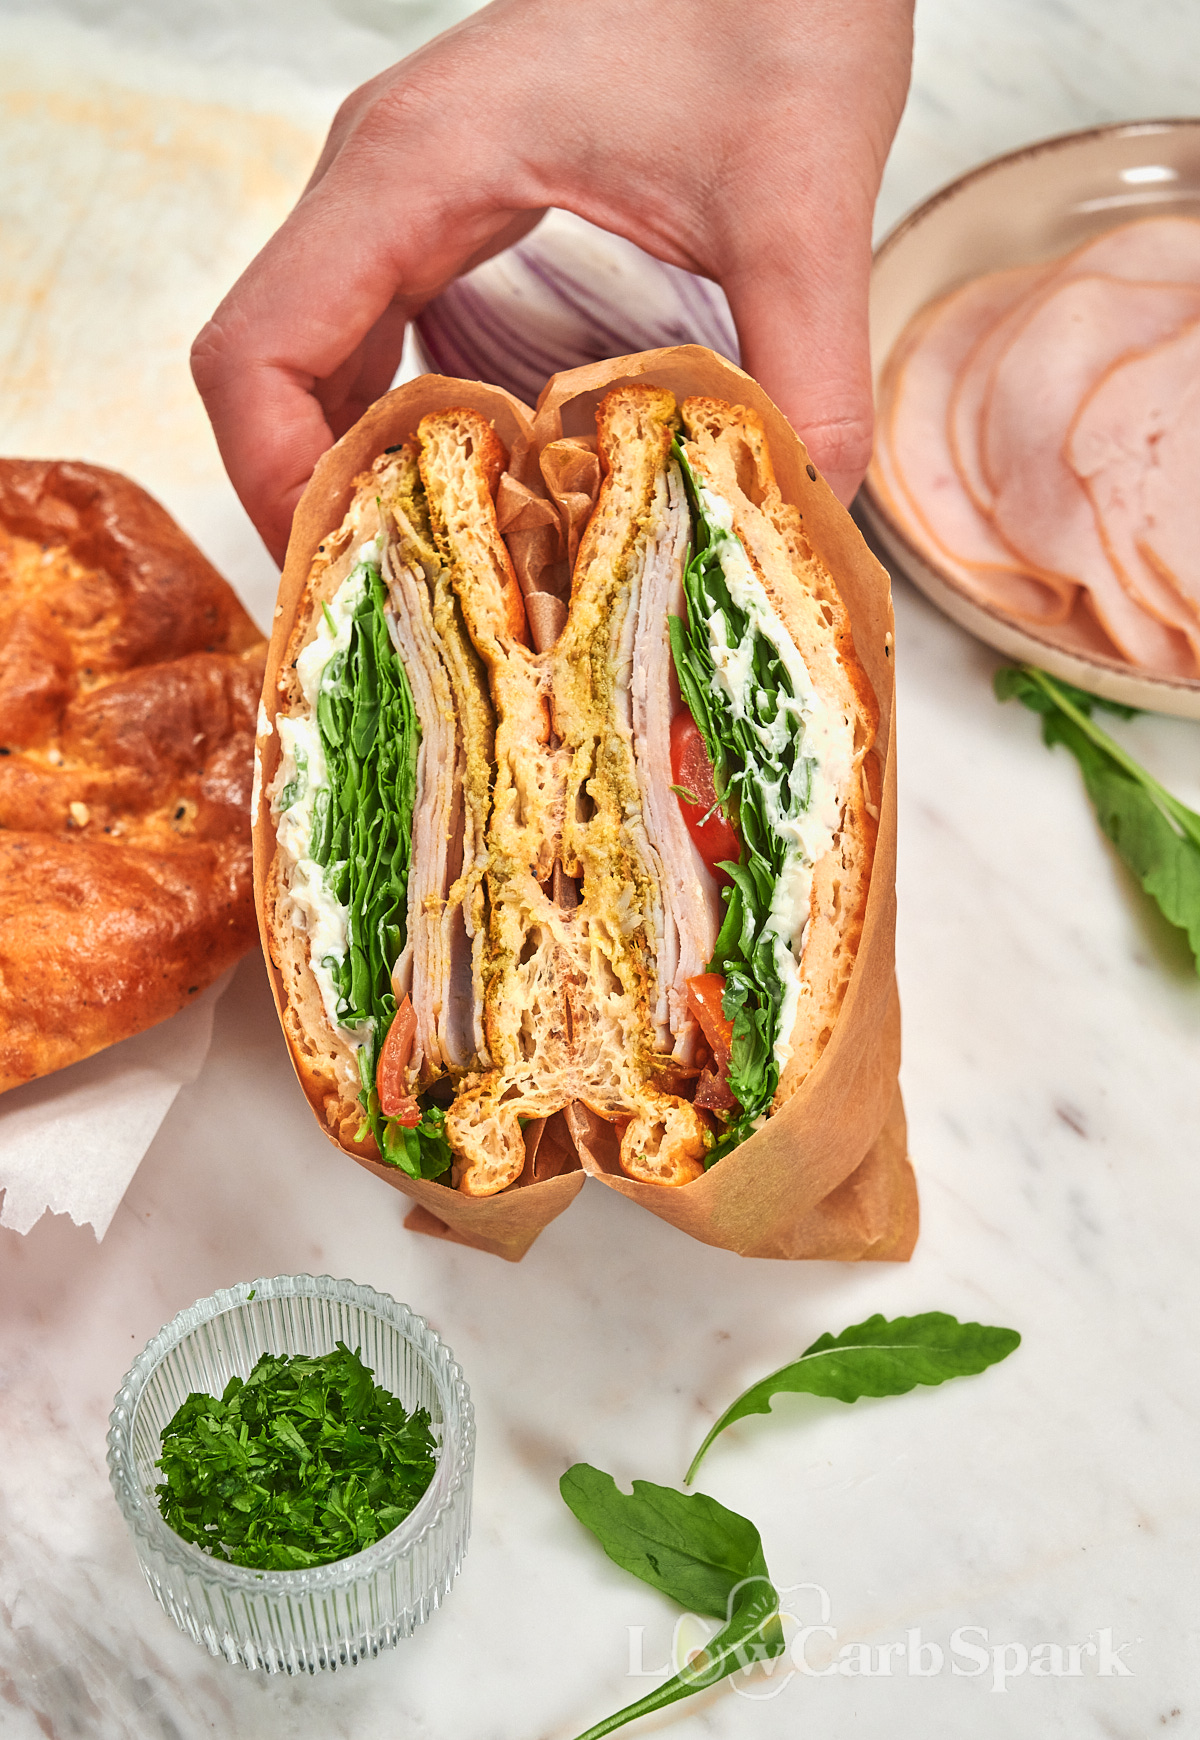
These Cottage Cheese Psyllium Buns are soft, fluffy, naturally high in protein and fiber, and made without any flour at all. There’s no almond flour, coconut flour, or wheat flour. Instead, psyllium husk gives them structure and a bread-like texture, while cottage cheese keeps the inside moist and tender.
Flourless bread can take a little experimenting to get right. We tested these buns several times to get a soft middle without having them fall apart when sliced. The mixture is sticky, but a little water on your hands makes shaping it much easier.
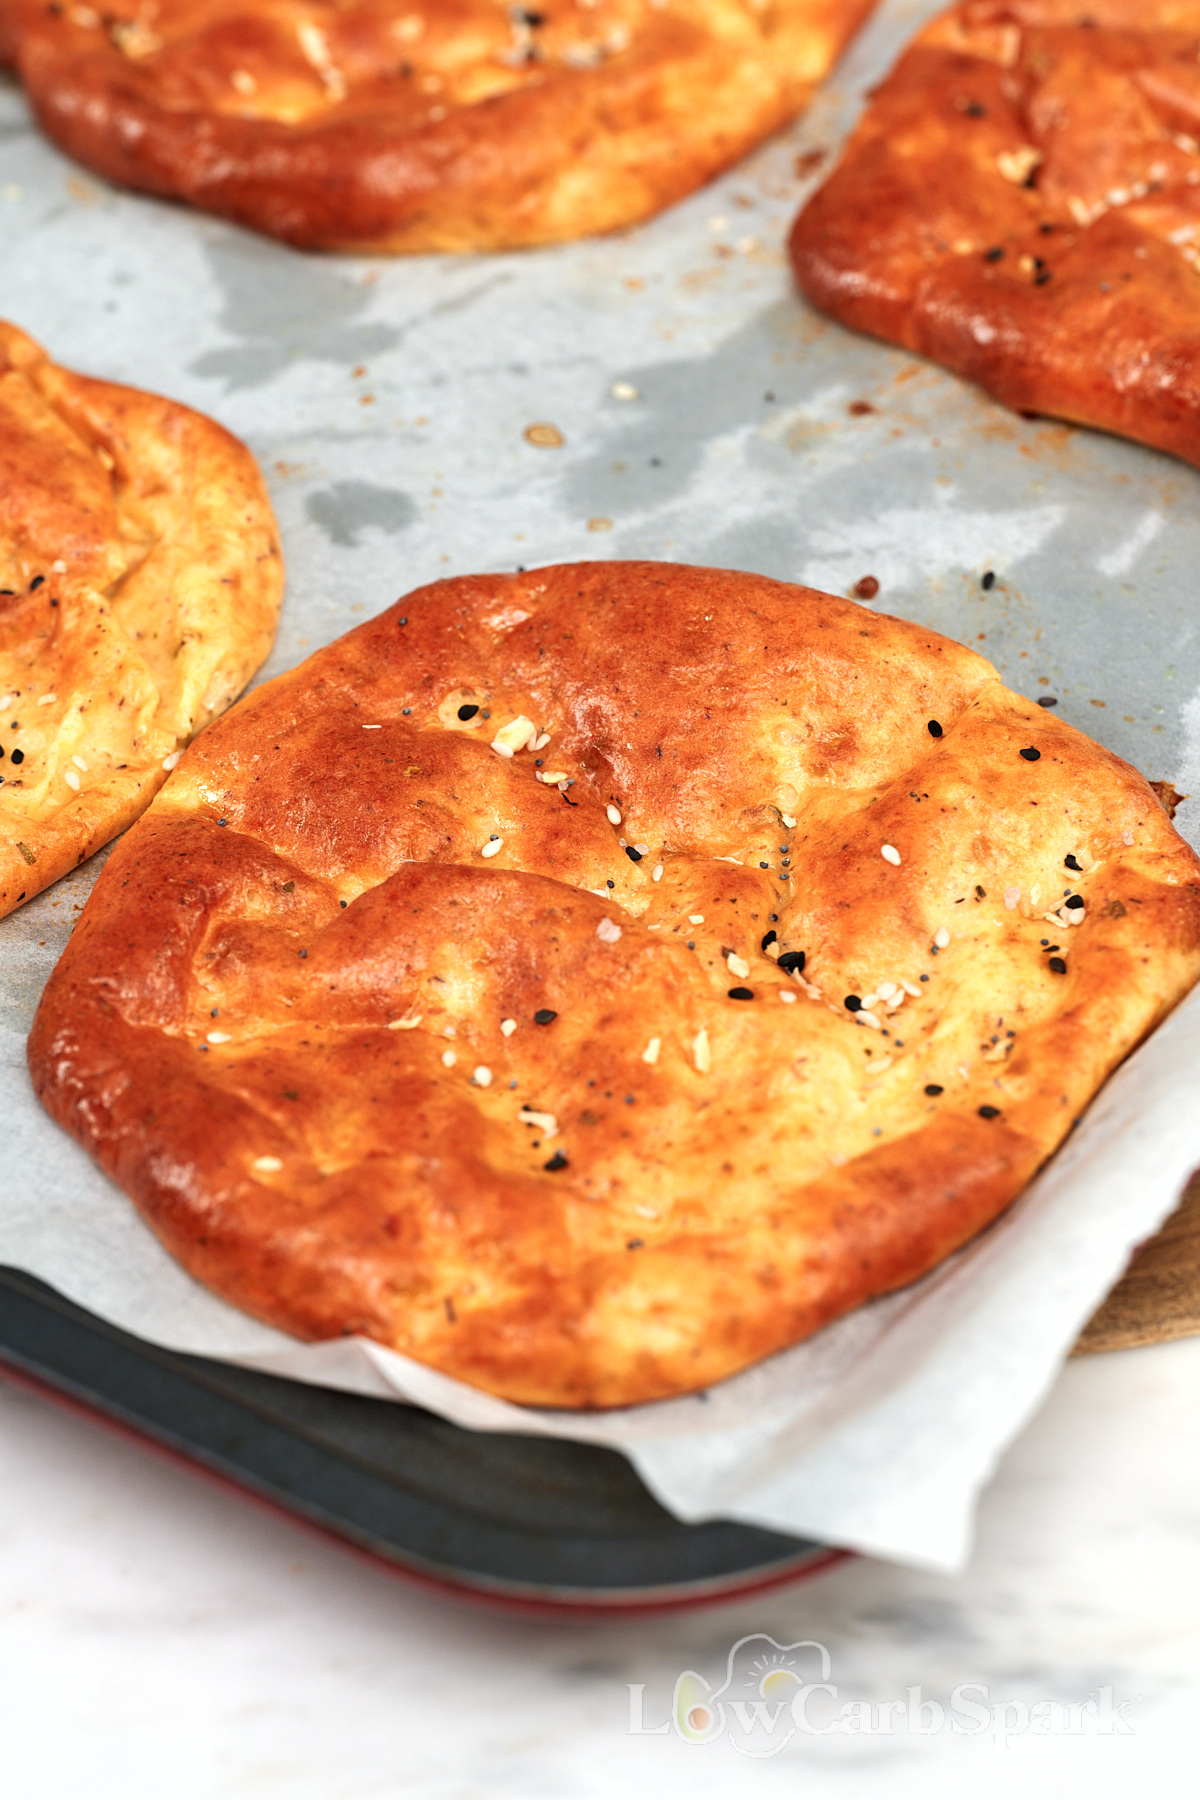
The buns will rise beautifully in the oven, but they naturally settle a little once they’re removed and begin to cool. Don’t worry if they lose some height, that’s exactly what should happen. They’ll still stay light and soft inside.
I love using them for breakfast sandwiches and burgers, and they’re also delicious sliced and toasted with butter. If you’ve tried my cloud bread, this is another flourless option to add to your sandwich rotation.
Why You’ll Love These Cottage Cheese Psyllium Buns
- Completely flourless – You don’t need wheat flour or specialty alternatives such as almond, coconut, or oat flour.
- High in protein and fiber – Cottage cheese and eggs provide protein, while psyllium husk adds fiber to make each bun more filling.
- Soft but sturdy – The buns stay tender inside but hold together well enough for burgers, breakfast sandwiches, and other fillings.
- Great for meal prep – Keep a batch in the refrigerator for quick breakfasts, lunches, or snacks.
- Naturally gluten-free – The recipe doesn’t contain flour or grains. When necessary, check that your psyllium husk, baking powder, and seasonings are certified gluten-free.
Ingredients You’ll Need
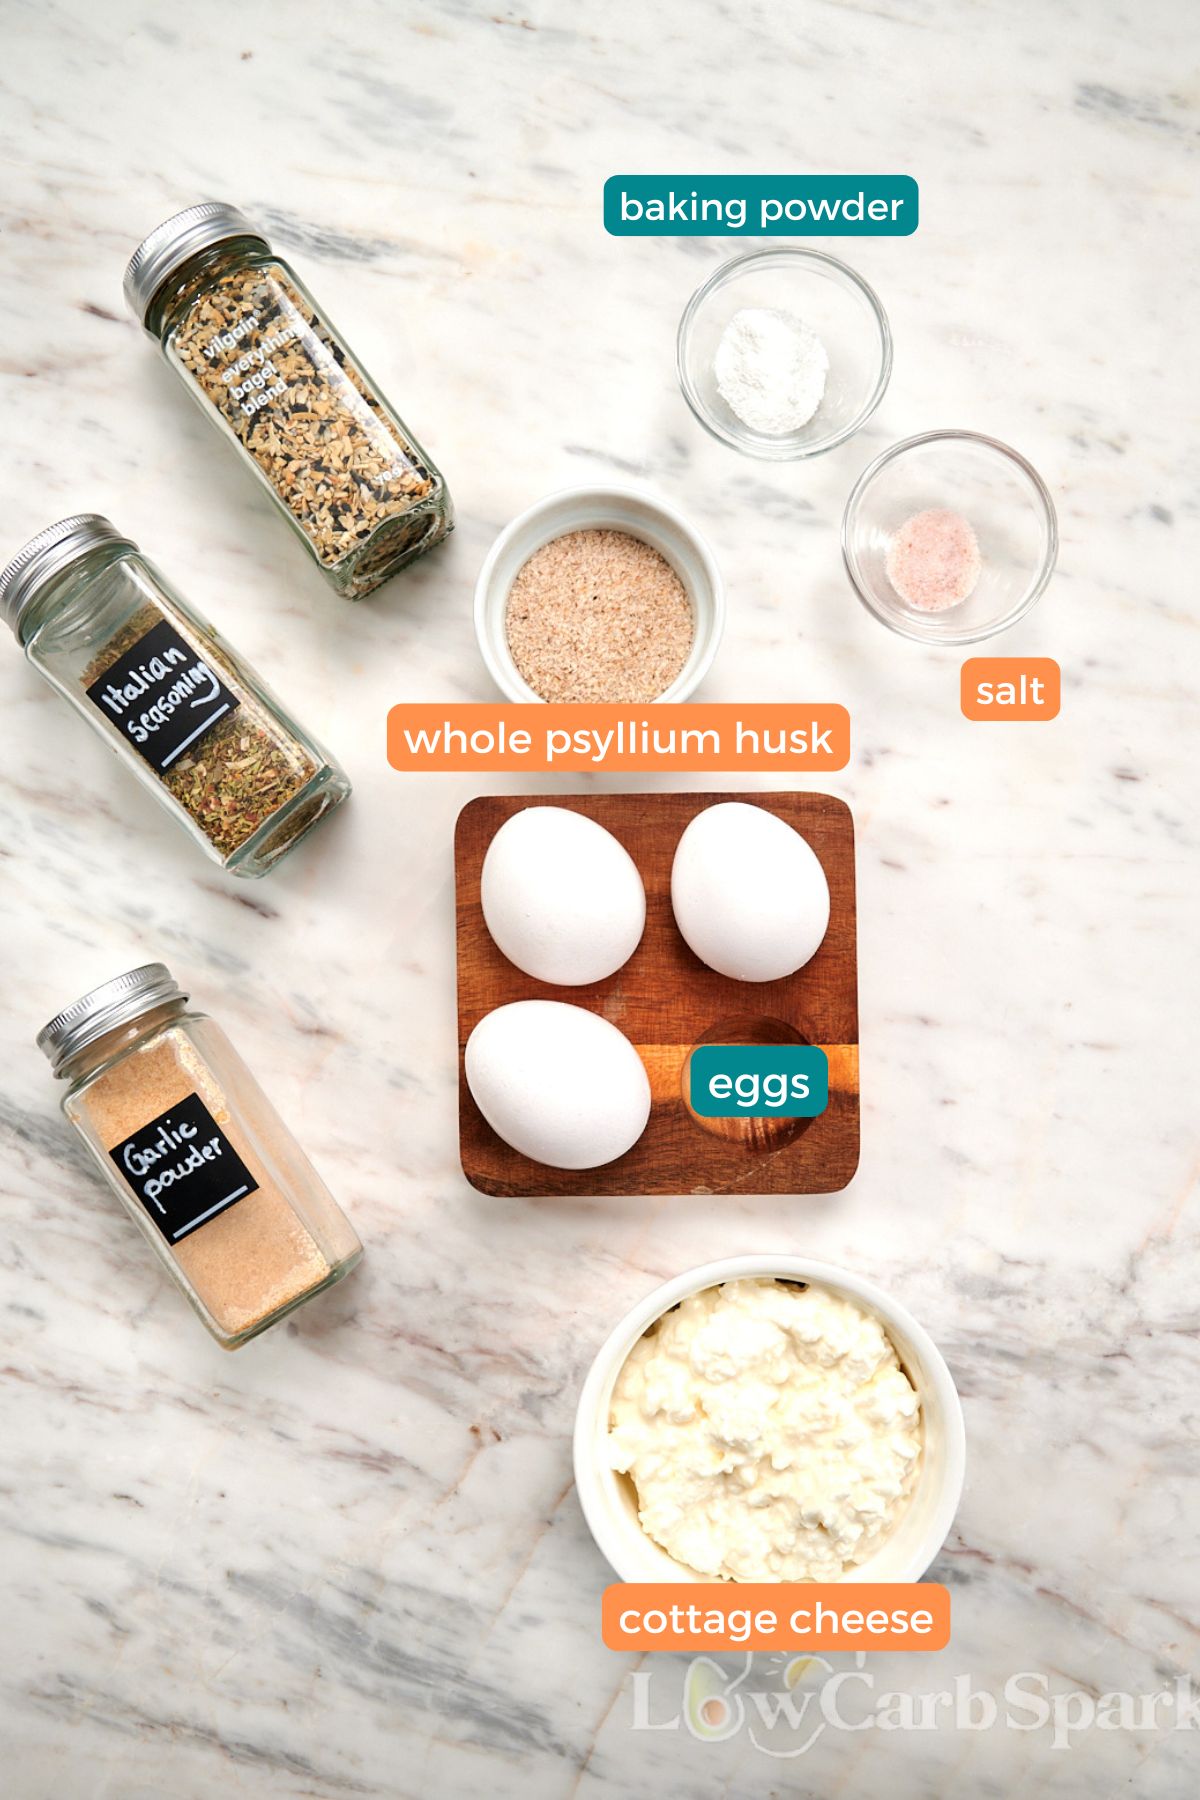
Eggs – Use three large eggs. Whisk them well until slightly foamy before stirring in the psyllium. There’s no need to separate them or beat the whites to stiff peaks.
Cottage Cheese – Cottage cheese adds protein and keeps the inside of the buns moist and tender. If your cottage cheese has a lot of liquid sitting on top, drain off some of the excess before adding it to the mixture.
Psyllium Husk – Psyllium husk absorbs moisture and thickens the mixture so it can be shaped without flour. It also adds plenty of fiber. Use whole psyllium husk for the best texture, as finely ground psyllium powder absorbs liquid much more quickly. The mixture needs its full 15-minute rest to thicken.
Baking Powder – This helps the buns rise and gives them a lighter texture. Make sure your baking powder is fresh so the buns puff up properly in the oven.
Salt – A small pinch brings out the flavor of the cottage cheese and keeps the buns from tasting bland.
Garlic Powder – This is optional, but I like adding it when I’m using the buns for burgers or savory breakfast sandwiches.
Italian Seasoning – Another optional addition that gives the buns a little more flavor without overpowering them.
Everything Bagel Seasoning – Sprinkling everything bagel seasoning over the tops adds a little crunch and makes the buns look so much better once baked. Sesame seeds, poppy seeds, or a simple mixed-seed topping also work well.
How to Make Cottage Cheese Psyllium Buns
Prepare the Oven and Baking Sheet
Preheat a fan-assisted or convection oven to 355°F (180°C). This is the oven setting I used for these buns. Line a baking sheet with parchment paper.
Whisk the Eggs
Add the eggs and salt to a medium bowl. Whisk well until the eggs look lighter and slightly foamy.
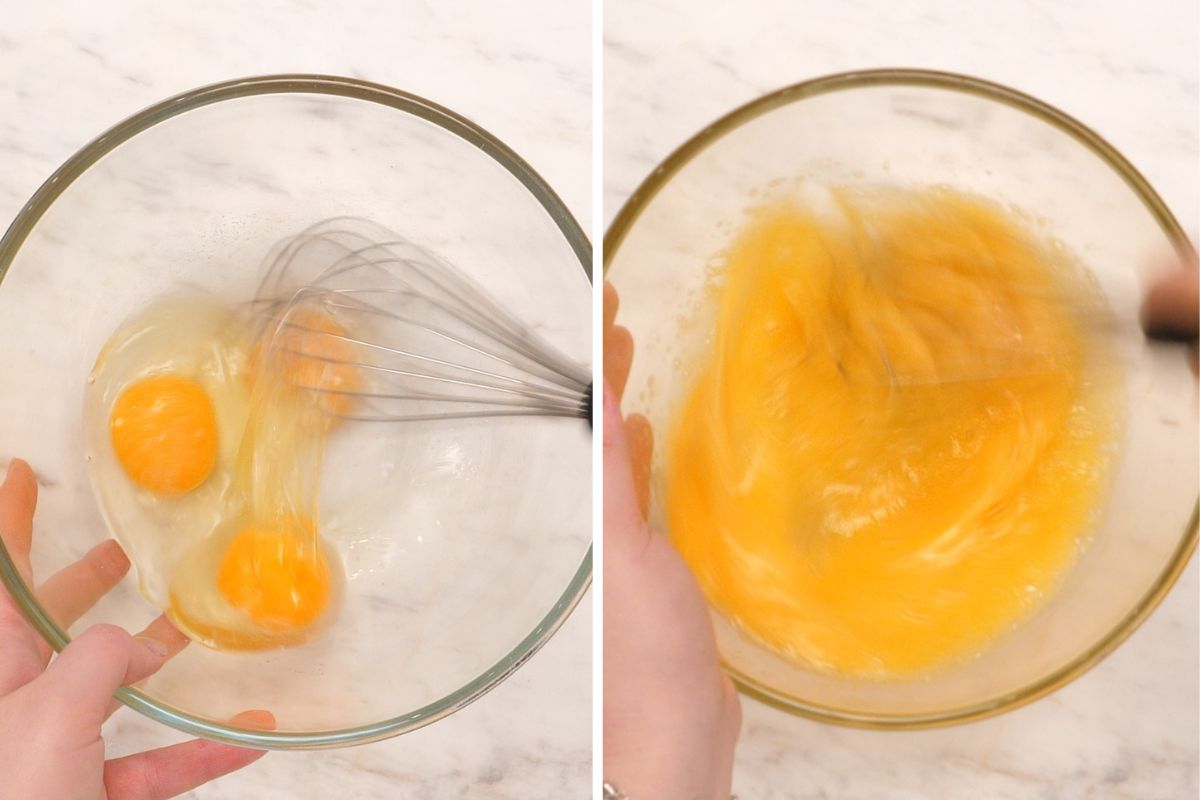
You don’t need an electric mixer, but whisk them thoroughly rather than stirring them only a few times.
Add the Psyllium Husk
Stir the psyllium husk into the whisked eggs, making sure there are no large dry clumps.
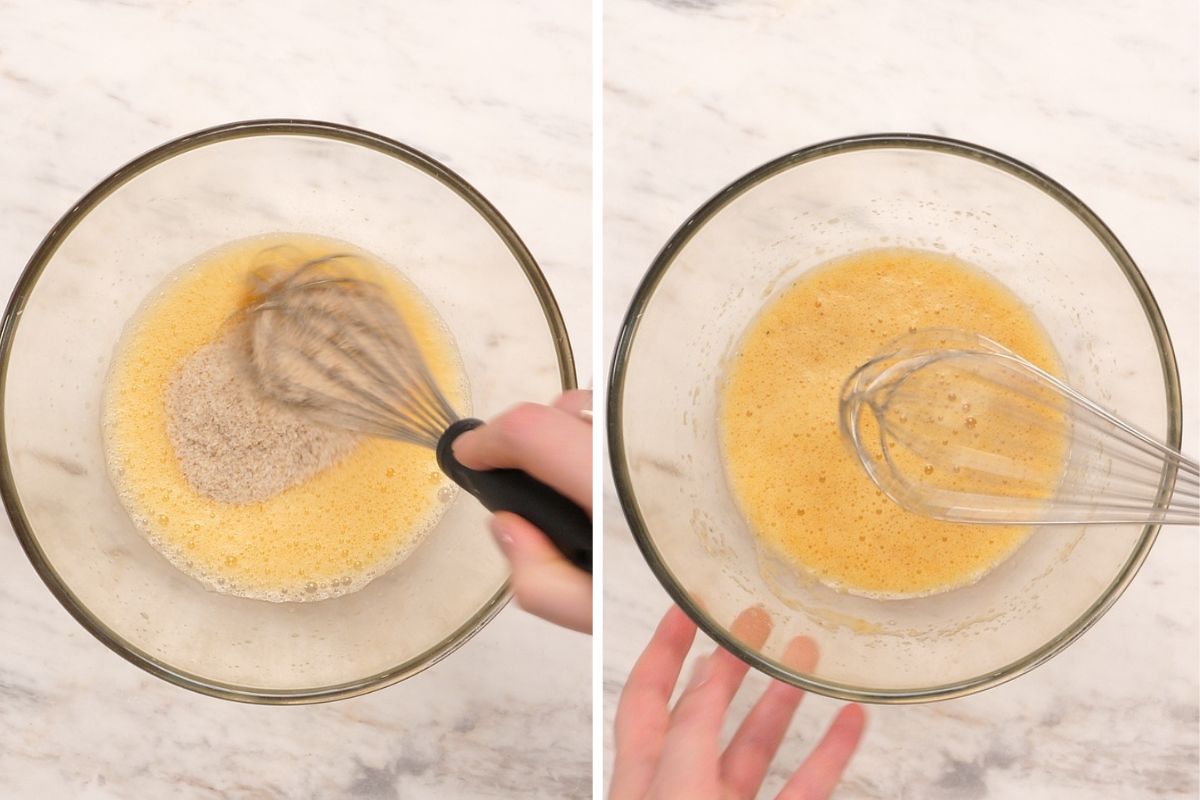
Let the mixture rest for 15 minutes. This step is important because the psyllium needs time to absorb the liquid and thicken. At first, the mixture will look quite loose, but it will become much thicker as it sits.
Blend in the Cottage Cheese
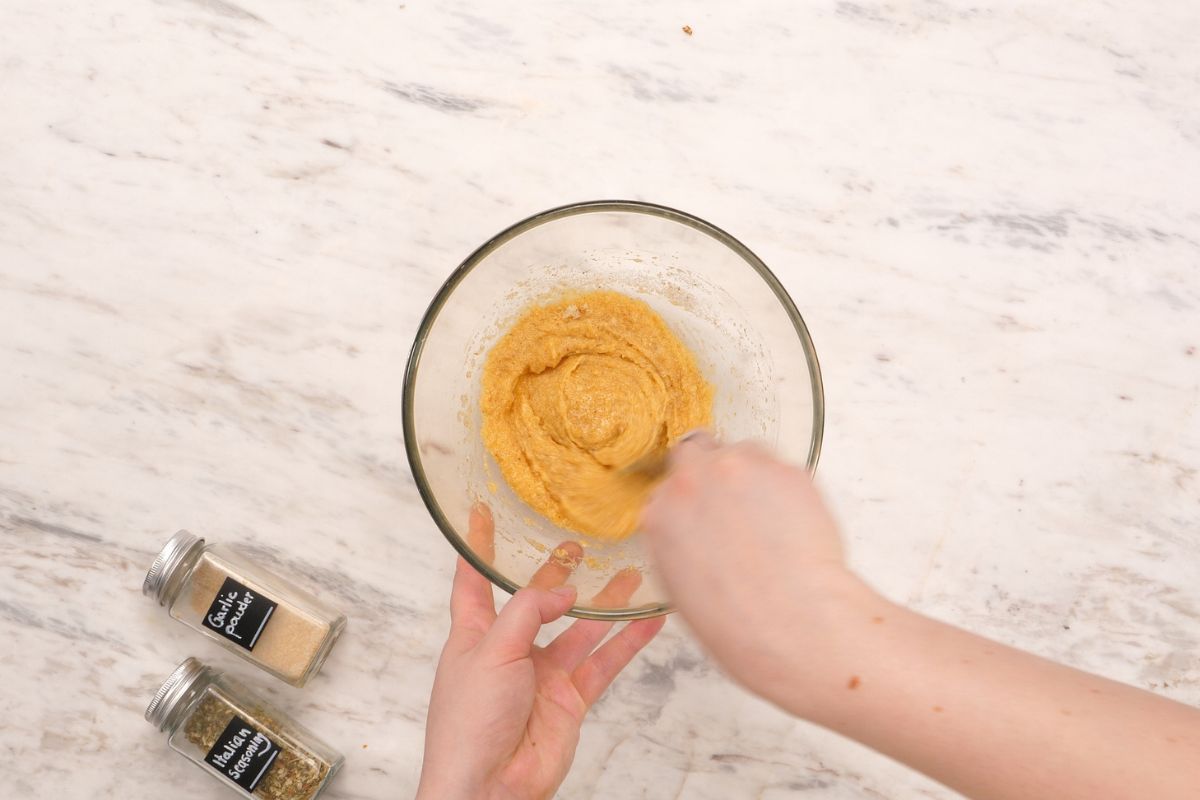
Once the psyllium mixture has rested for 15 minutes, add the cottage cheese, baking powder, garlic powder, and Italian seasoning.
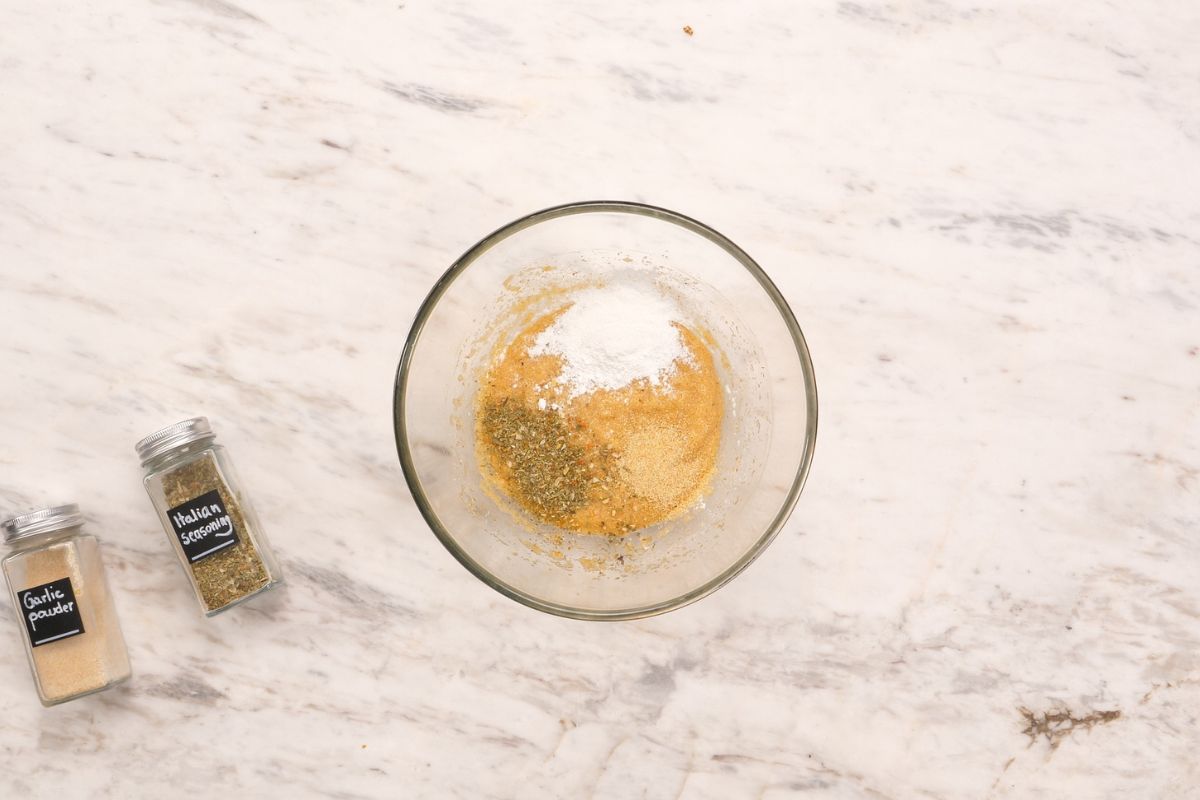
Use a hand blender to blend everything directly in the bowl until the cottage cheese is smooth and the mixture is evenly combined. It will be thick, soft, and sticky, which is exactly how it should be.
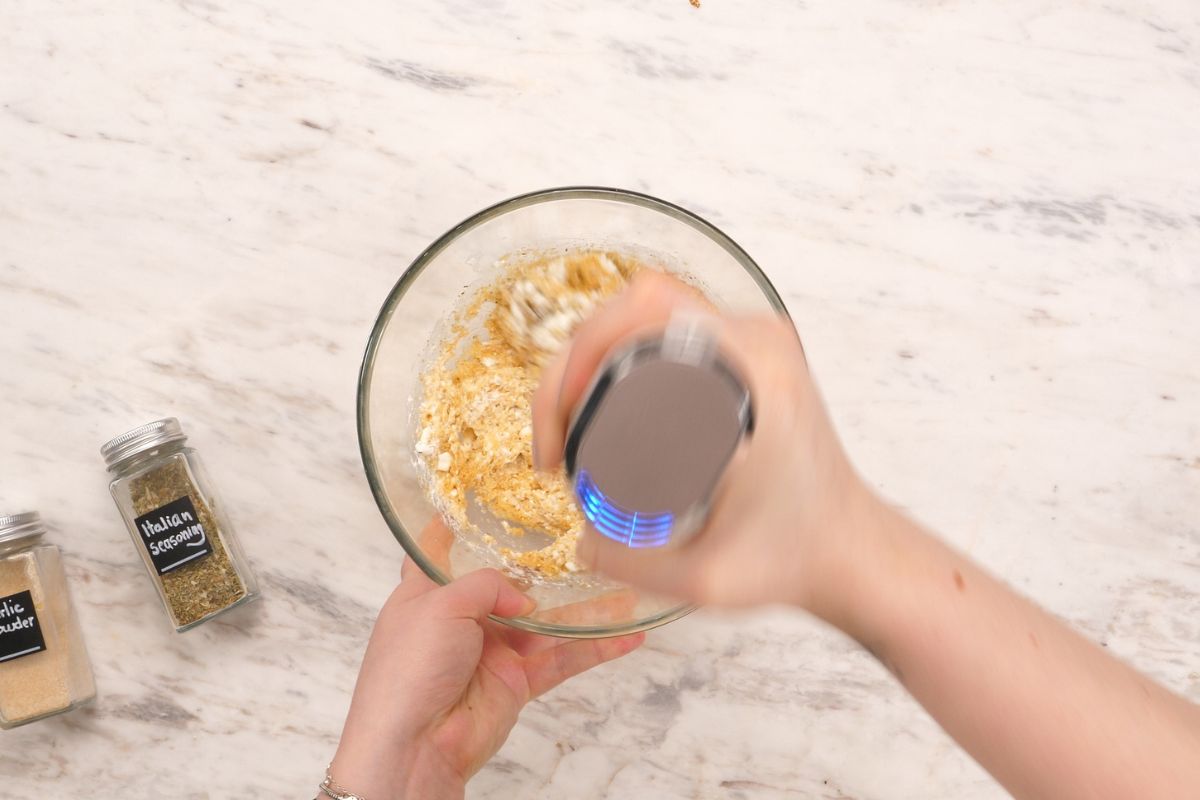
Blending the cottage cheese removes the curds and gives the buns a smoother, more even texture inside.
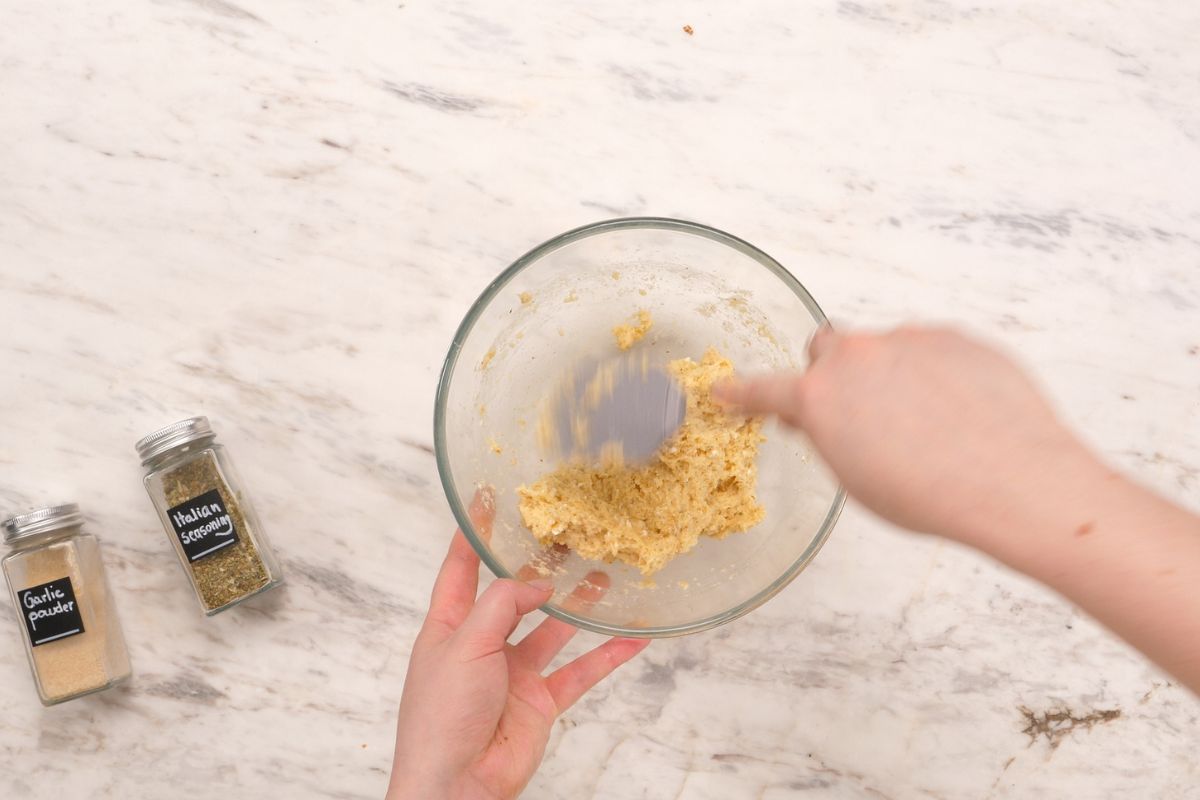
Shape the Buns
Wet your hands with water, then divide the mixture into four equal portions.
Shape each portion into a bun and place it on the prepared baking sheet. I like making them slightly square so they work well for sandwiches, but you can also shape them into rounds.
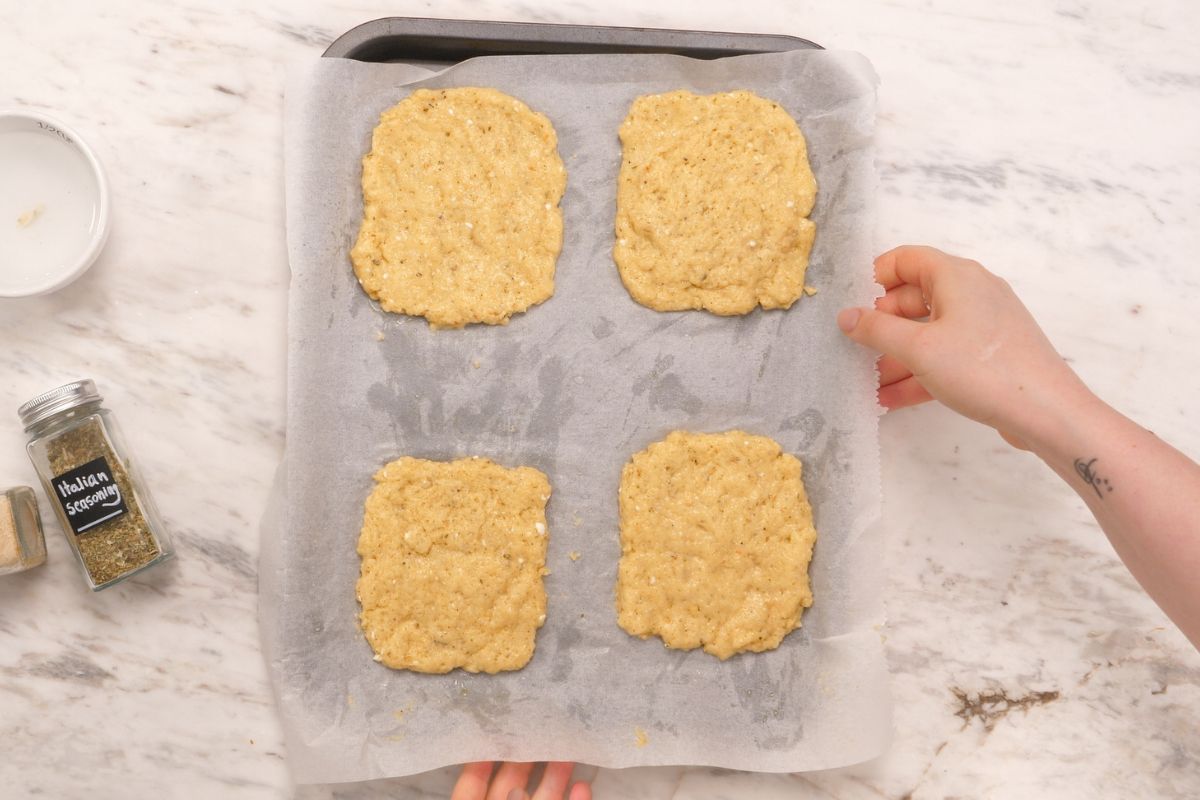
The mixture will stick to dry hands, so keep a small bowl of water nearby and wet your hands again whenever needed.
Add the Topping
The everything bagel seasoning is optional. You can sprinkle it over the buns before baking, or add it once the buns come out of the oven, as I did.
If adding it before baking, press the seasoning down very gently so it stays in place as the buns rise.
Bake the Buns
Bake for 25–30 minutes, until the buns are puffed, lightly golden, and firm around the edges. The centers should look set rather than wet.
The buns will lose a little height as they cool. Slight settling is normal, but they should still hold their shape.
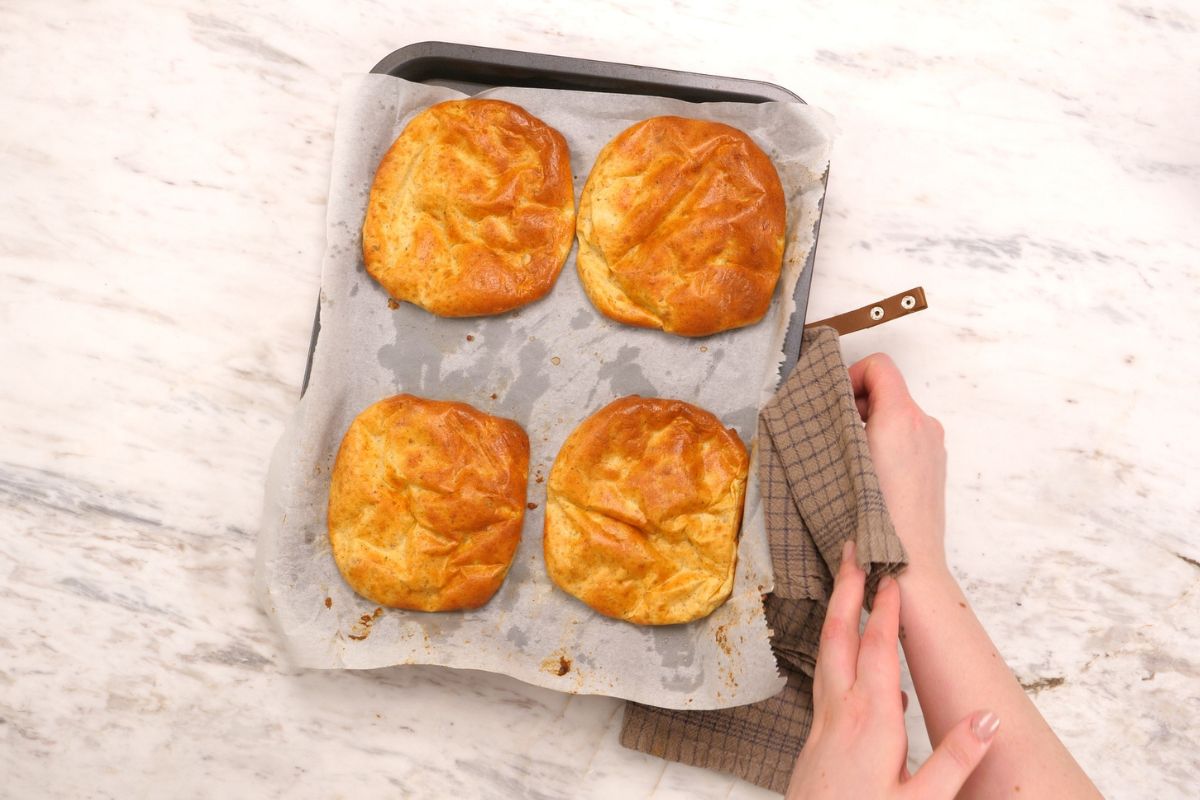
Bake for 25 to 30 minutes, or until the buns are puffed, set, and firm around the edges. They will rise beautifully in the oven and then naturally settle a little after you remove them. This is completely normal and doesn’t mean anything went wrong.
Let Them Cool
Allow the buns to cool on the baking sheet for at least 10 minutes before using them to create a sandwich with your favorite fillings.
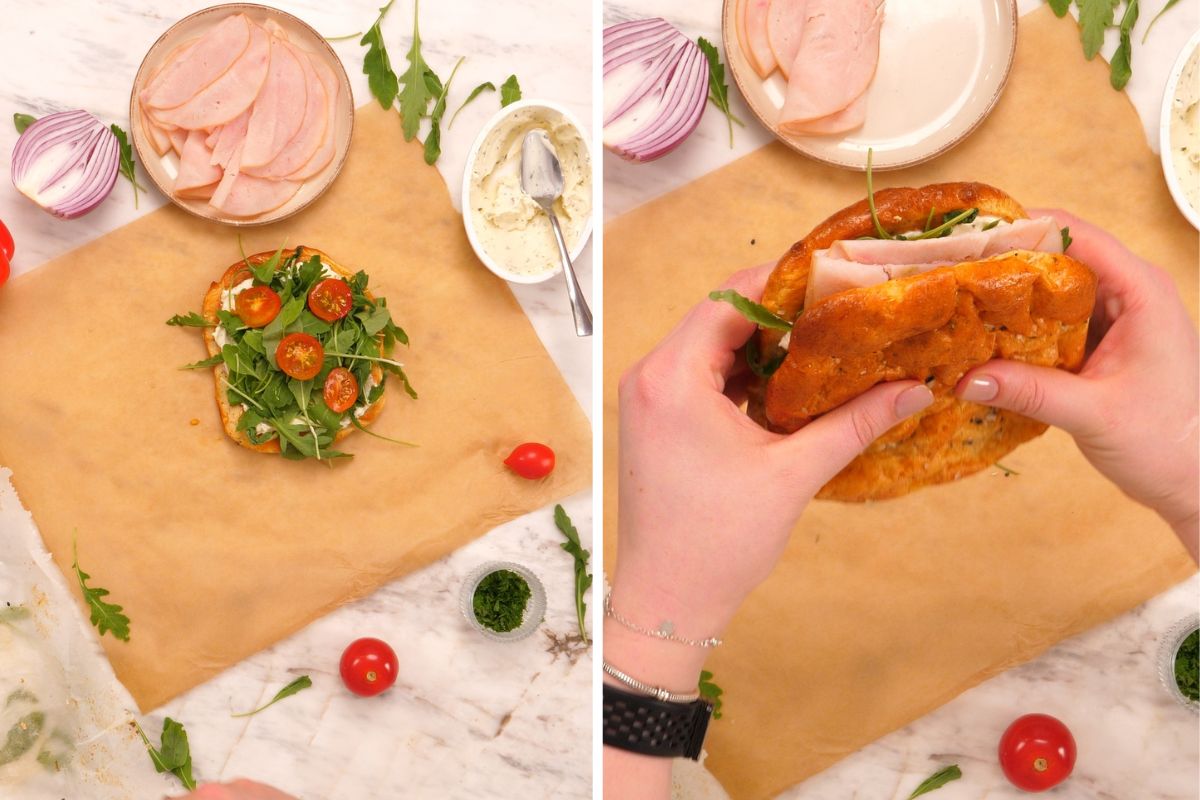
They continue to firm up as they cool, which helps them hold their shape and gives them the best texture for sandwiches.
My Best Tips
Use whole psyllium husk. Psyllium powder is much finer and can make the buns dense or dry when used in the same quantity.
Check the cottage cheese consistency. Brands vary, so drain off any obvious excess liquid before measuring if your cottage cheese is particularly watery.
Don’t add extra psyllium to fix the stickiness. The mixture is supposed to be sticky. Adding more can change the texture of the baked buns, so use wet hands instead.
Make the buns similar in size. Even portions will rise and bake at the same rate. Larger buns may need more time for the centers to set.
Ways to Use Them
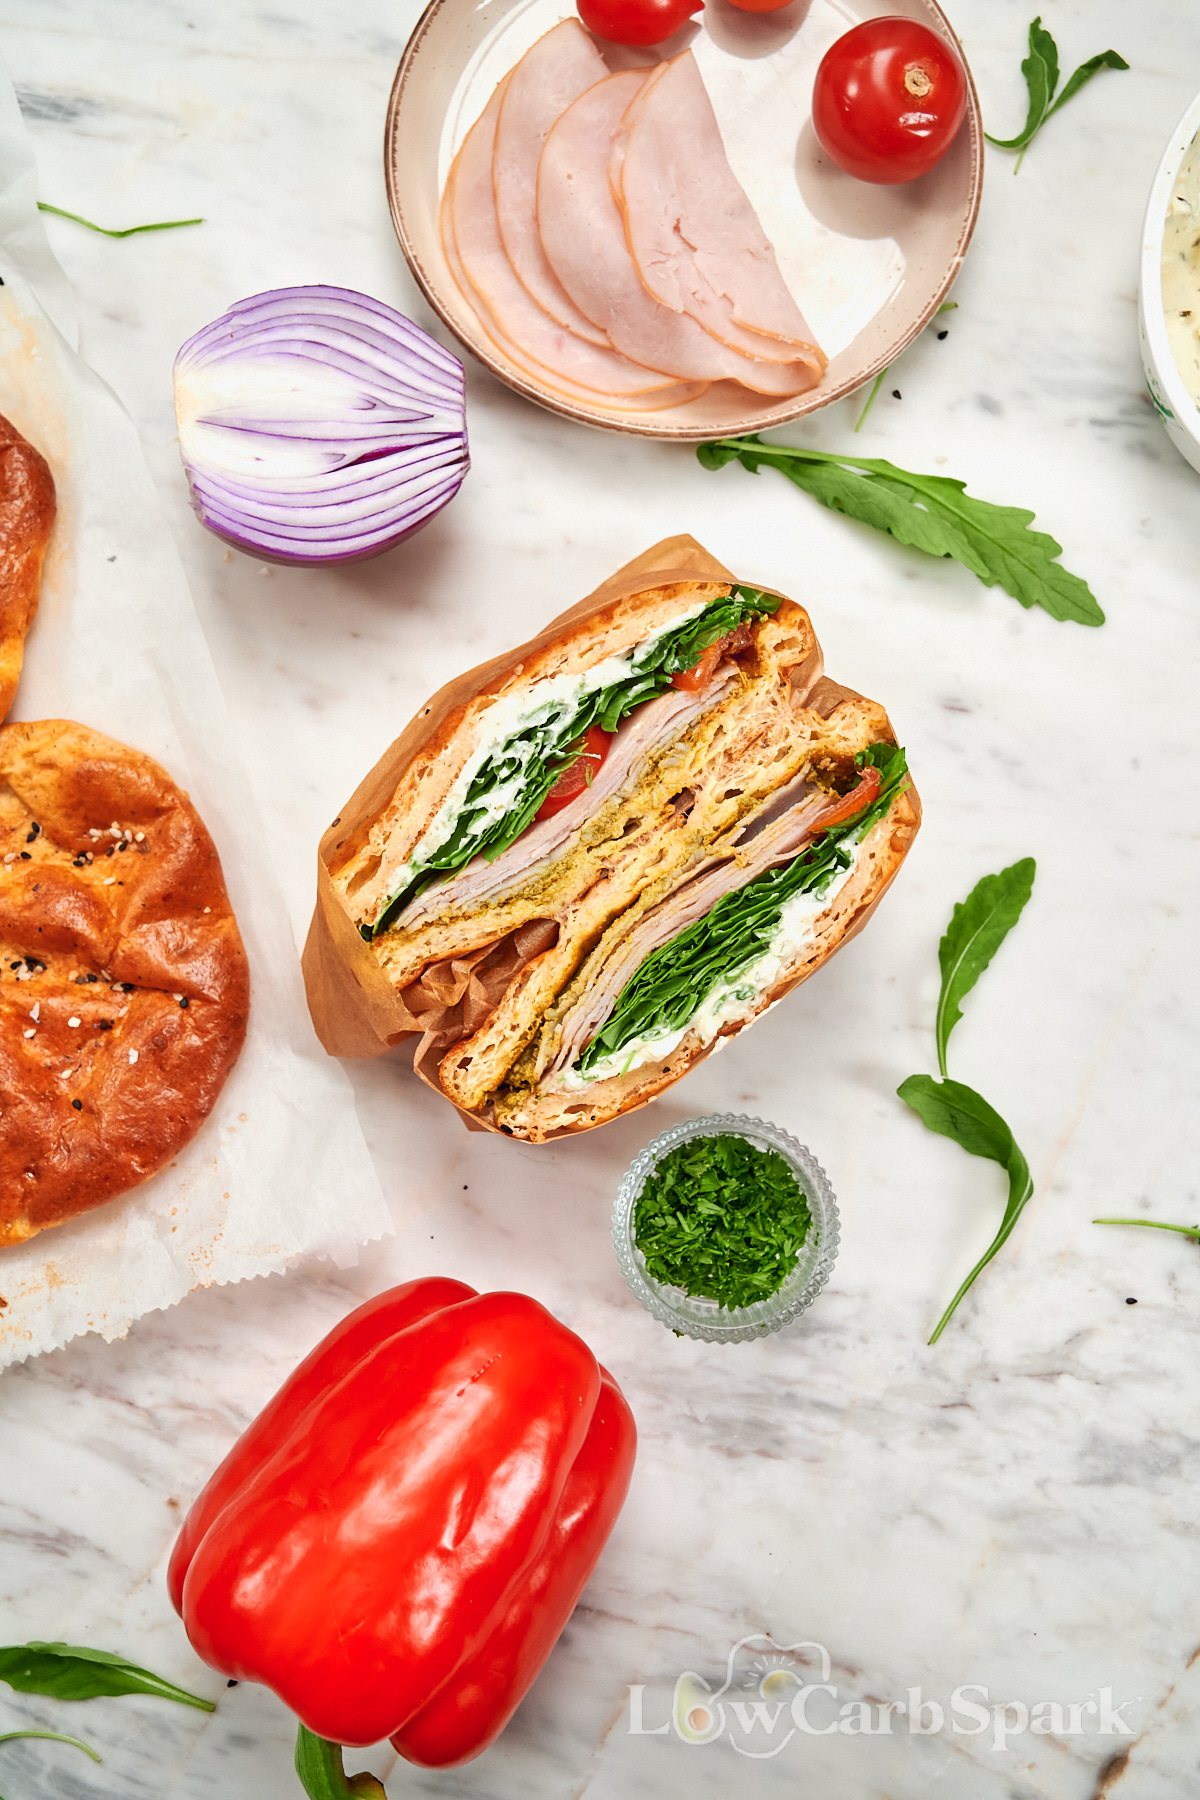
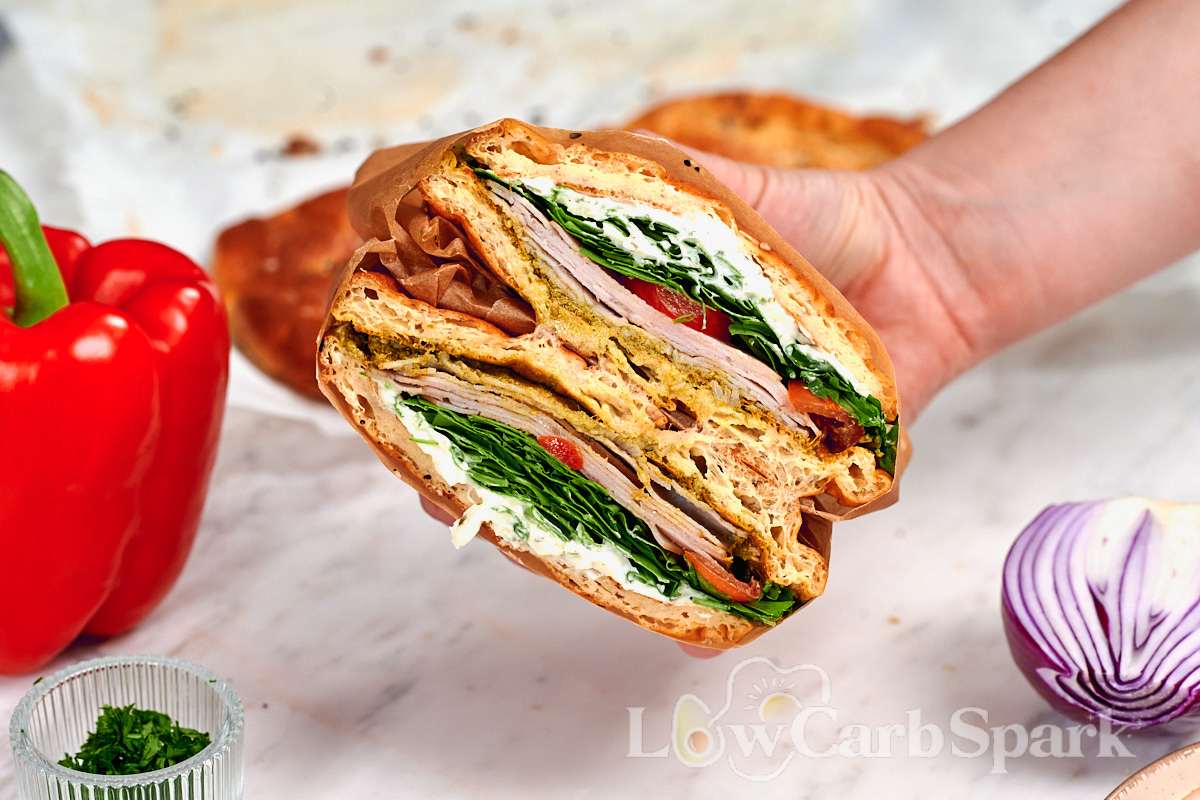
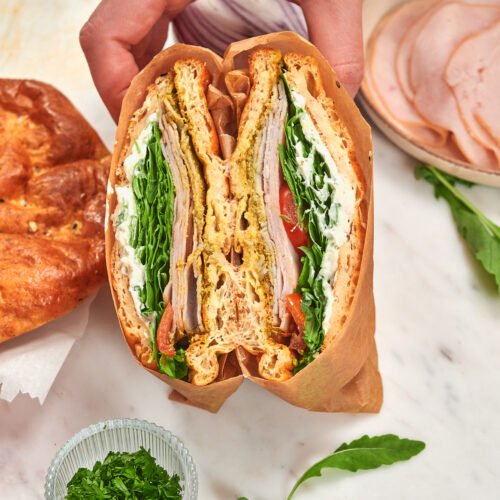
I love these buns with eggs, cheese, and turkey for breakfast, or filled with a burger for dinner. For an easy lunch, try my tuna salad or chicken salad.
Cream cheese and smoked salmon are another delicious combination. You can also keep things simple and toast a bun with a little butter.
Let the buns cool before slicing, and add juicy fillings like tomato just before serving.
Storage
Allow the buns to cool completely before placing them in an airtight container. Store them in the refrigerator for up to three days.
For the best texture, slice and reheat them briefly in an air fryer, toaster oven, or regular oven. This warms the center while lightly toasting the cut edges.
Frequently Asked Questions
Are cottage cheese psyllium buns high in fiber?
Yes. Psyllium husk is naturally very high in fiber, so these buns contain more fiber than many other flourless bread recipes. It also helps make them more filling and gives them their bread-like structure.
Why did my buns turn purple or gray?
Some brands of psyllium husk can change color when baked, giving bread a slightly purple or gray tint. This is harmless and doesn’t affect the taste, but using a different brand may give you a lighter-colored bun.
Why did the buns deflate after baking?
The buns rise as the eggs expand and steam builds inside them. Once they’re removed from the oven and begin to cool, some of that air escapes, so they naturally settle.
This is completely normal and is similar to what happens with Cloud Bread. The buns should still remain soft and easy to slice.
Why is the mixture so sticky?
Psyllium husk creates a soft, sticky mixture once it absorbs the liquid. This is the correct consistency.
Instead of adding more psyllium, which may make the buns too dense, simply wet your hands before shaping them.
Can I use low-fat cottage cheese?
Yes. Full-fat and low-fat cottage cheese both work, although full-fat cottage cheese usually makes the buns slightly softer and richer.
Avoid cottage cheese that is extremely watery, or drain off some of the excess liquid first.
Can I make the buns dairy-free?
I haven’t tested this recipe with a dairy-free cottage cheese alternative, so I can’t say whether it would produce the same texture. The moisture and protein content of cottage cheese are important to the recipe.
Can I freeze Cottage Cheese Psyllium Buns?
Yes. Let the buns cool completely, slice them, and place parchment paper between each one. Store them in a freezer-safe container or bag for up to 2 months.
Thaw them overnight in the refrigerator or reheat them directly from frozen in a toaster oven or air fryer.
More Homemade Bread Recipes
If you enjoy making your own bread, here are a few others to try:
- Coconut Flour Bread for a loaf you can slice and toast.
- Italian Herb Keto Bread for another savory option.
- Egg-Free Keto Bread if you’re looking for a recipe made without eggs.
Cottage Cheese Psyllium Buns
Description
Ingredients
- 3 eggs large
- 3 tablespoons whole psyllium husk
- 1 tsp baking powder
- 1 cup cottage cheese
- ½ teaspoon garlic powder optional
- ½ teaspoon Italian seasoning optional
- Pinch of salt
- 1 tablespoon everything bagel seasoning for topping
Instructions
- Preheat a fan-assisted or convection oven to 180°C or 355°F. Line a baking sheet with parchment paper.
- Add the eggs and salt to a medium bowl. Whisk well until the eggs are light and slightly foamy.
- Stir in the psyllium husk, then let the mixture rest for 15 minutes. It will thicken as the psyllium absorbs the liquid.
- Add the cottage cheese, baking powder, garlic powder, and Italian seasoning.
- Use a hand blender to blend everything directly in the bowl until smooth and evenly combined. The mixture will be thick and sticky.
- Wet your hands with water and divide the mixture into four equal portions.
- Shape each portion into a square or round bun and place it on the prepared baking sheet. Wet your hands again as needed to prevent sticking.
- If using everything bagel seasoning, sprinkle it over the tops before baking, or add it once the buns come out of the oven, as I did.
- Bake for 25 to 30 minutes, or until the buns are puffed, lightly golden, set in the center, and firm around the edges.
- Let the buns cool on the baking sheet for at least 10 minutes before using them to create a sandwich with your favorite fillings. They will naturally settle slightly and continue to firm up as they cool.
Notes
- Whole psyllium husk produces the best texture. Finely ground psyllium powder absorbs more liquid and should not be substituted in the same quantity.
- Drain off any obvious excess liquid if your cottage cheese is particularly watery.
- Don’t add extra psyllium to make the mixture easier to shape. Wet hands will prevent it from sticking.
- Freeze the sliced buns for up to two months and reheat them in the air fryer, toaster oven, or oven.
Nutrition information is shared to make meal planning easier. Values are estimates and can vary depending on the ingredients, brands, and serving sizes used. Learn more in my nutrition policy.
